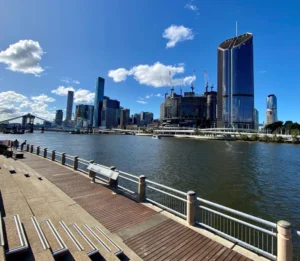
One Day in Brisbane: what to see if you’re running tightly on time isn’t about rushing around...
travel

Gen Z Travel Tips for Gen Z: The Lowdown on Navigating a City that’s Just as Real...

Is the Indian Pacific Rail Journey From Perth to Adelaide Worth the Cost? In short: yes, if...
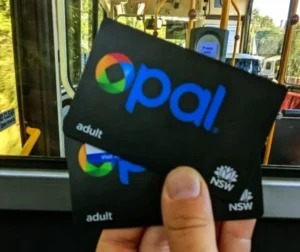
If you’re trying to figure out how to cough up for the train and ferry fares in...